 how-to
How to Set Up Family Tents: Step-by-Step Guide
Table of Contents
- Before You Pitch: Preparation and Site Selection
- Tent Setup for Beginners: Unpacking and Organizing Components
- How to Set Up a Large Camping Tent: Assembling the Frame
- How to Stake a Tent: Securing Your Setup
- How to Attach a Tent Rainfly: Weather Protection
- Setting Up Vestibules, Room Dividers, and Multi-Room Layouts
- Common Tent Setup Mistakes and How to Avoid Them
- Family Tent Setup: Coordination and Safety Tips
- Frequently Asked Questions
Last Updated: October 15, 2026
Before You Pitch: Preparation and Site Selection
Learning how to set up family tents starts long before you drive to the campsite. The right preparation makes the difference between a smooth setup and a frustrating afternoon. Most families skip this step and regret it.
What to Check Before Setup
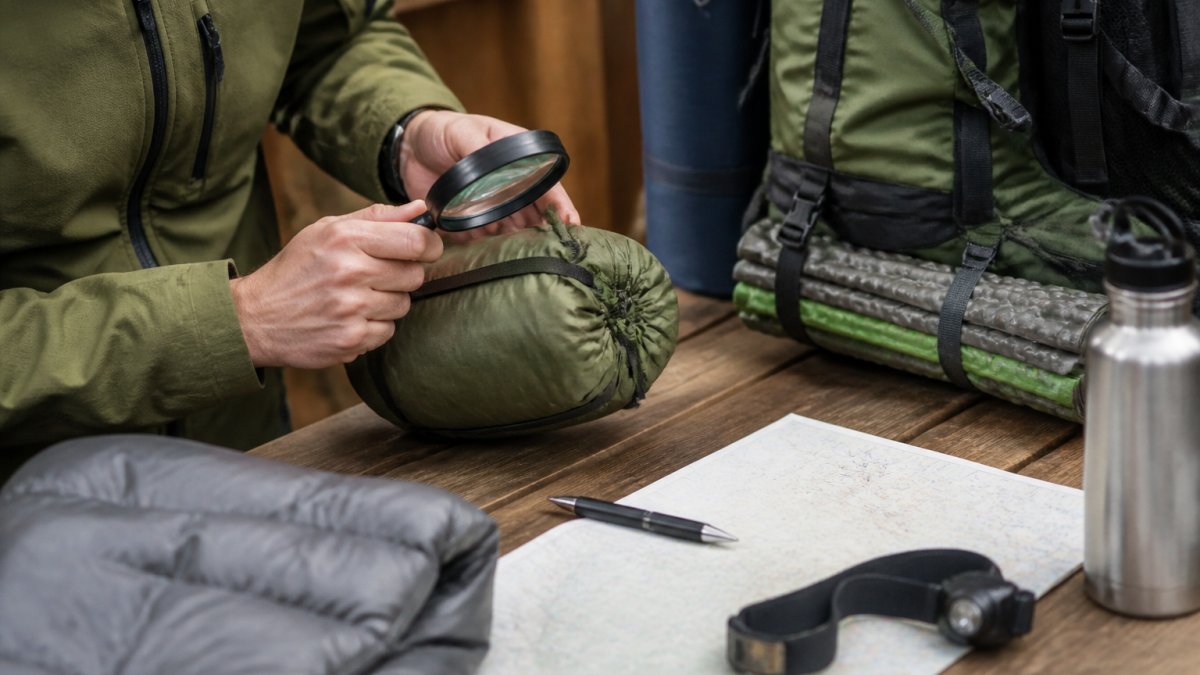
Start by checking your gear at home. Lay out the entire tent body, poles, stakes, and guy lines in your backyard or living room. Look for any damage or missing pieces.
Check the weather forecast for your camping dates. Wind direction matters more than most people realize. Rain is obvious, but wind can collapse a poorly positioned tent. High winds require extra guy line tension and careful stake placement.
Inspect your campsite before you start assembling. Look for level ground free of rocks, roots, and sharp objects. Uneven ground causes stress on tent seams and makes sleeping uncomfortable.
Choosing Level Ground and Assessing Wind Direction
Level ground is non-negotiable. Even a slight slope causes your sleeping bag to shift downhill all night. Walk the campsite and identify the flattest spot available. Use a small level if you have one, or simply observe how water would run off the ground.
Wind direction affects tent orientation and guy line setup. Watch how trees sway and how smoke moves. Position your tent entrance away from the prevailing wind. This protects your tent opening and reduces wind stress on the poles.
Avoid low spots where water collects. Rain runoff flows downhill. Camp on higher ground when possible. This prevents water from pooling under your tent during storms.
Tent Setup for Beginners: Unpacking and Organizing Components
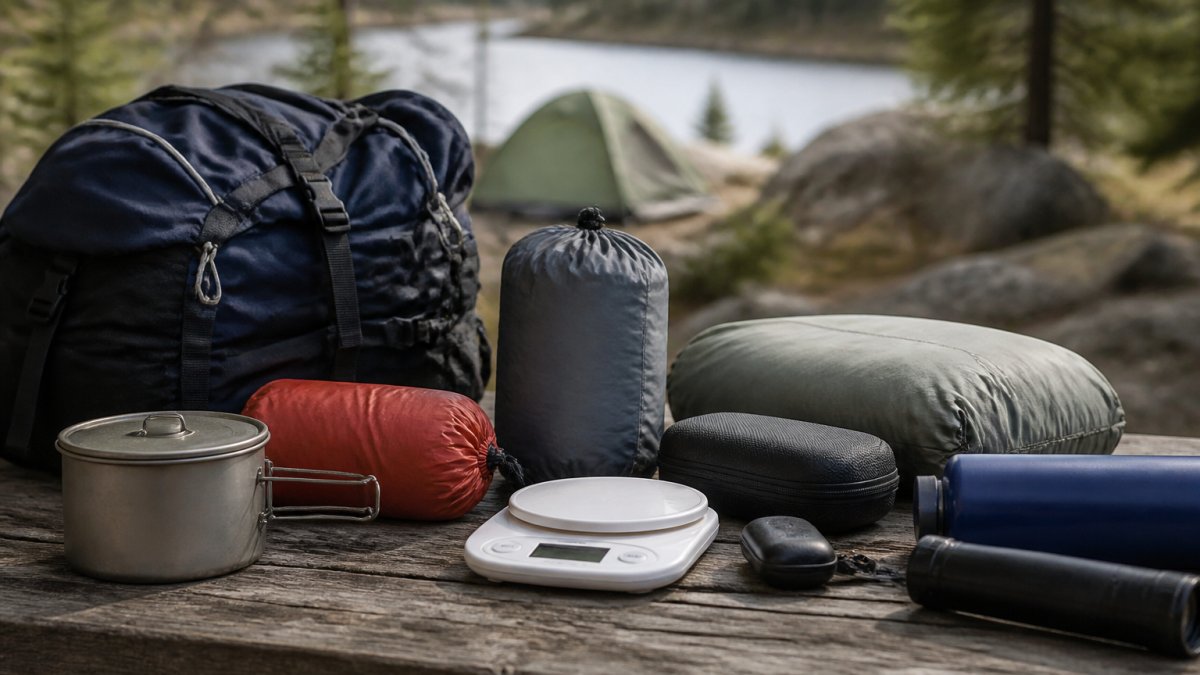
Unpacking in the right order prevents confusion and saves time. Spread everything out so you can see each piece. This is especially important for how to set up family tents when multiple people are helping.
Identifying Tent Body, Poles, Stakes, and Accessories
Start by identifying each component. The tent body is the fabric structure that forms the main shelter. It has a bottom floor and walls. The tent poles are the rigid frames that hold the body up.
Stakes anchor the tent to the ground. They're usually metal or plastic and come in different shapes. Guy lines are ropes or cords attached to the tent that provide extra stability. The rainfly is a waterproof covering that goes over the tent body.
Lay each component in a separate pile. This helps everyone see what they're working with. For larger family tents, assign one person to organize pieces while others prepare the site.
How to Set Up a Large Camping Tent: Assembling the Frame
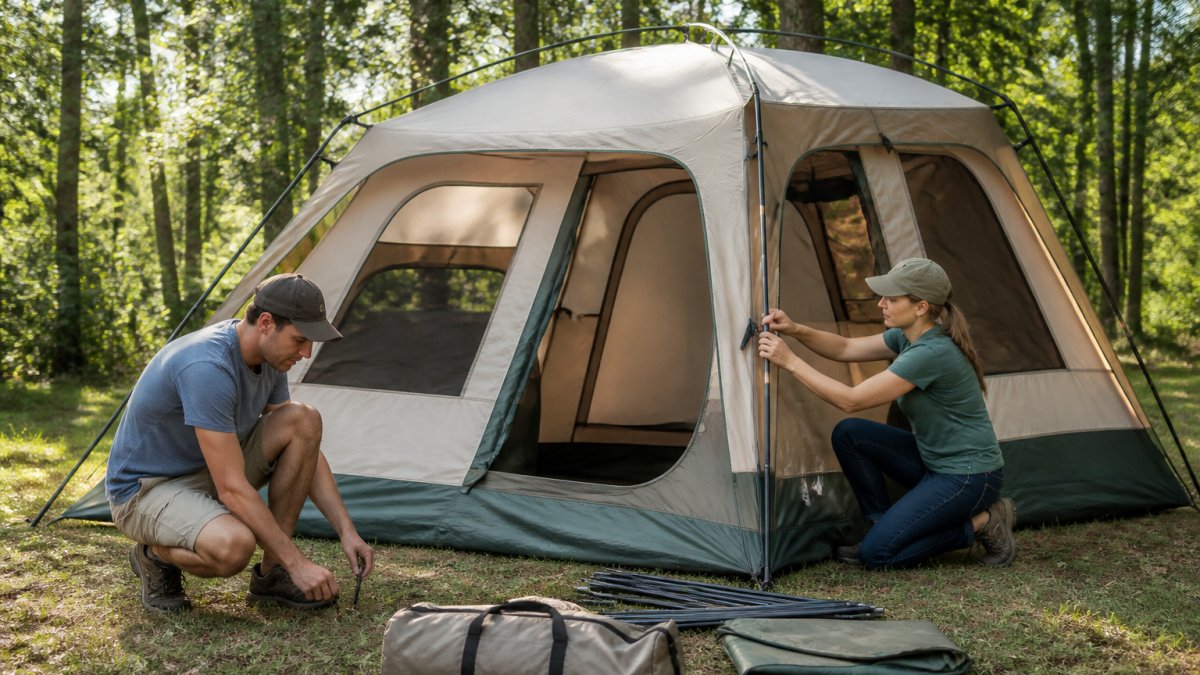
Large family tents need careful assembly. The tent body is heavier and requires more coordination. Start with the poles and frame before raising the full structure.
Connecting Poles and Inserting Into Sleeves or Clips
Most family tents use pole sleeves or pole clips to hold poles in place. Pole sleeves are fabric tubes that poles slide through. Pole clips are small holders that snap around poles.
Connect pole sections end-to-end. They typically snap together with a click or twist connection. Lay the connected poles on the ground in the pattern shown in your manual. Don't force connections. If a pole doesn't fit, check the orientation.
Slide poles into sleeves or secure them in clips. Start at one end and work your way along. Make sure poles sit fully in their holders. Loose poles cause wobbling and uneven tent tension.
Raising and Tensioning the Tent Body
Once poles are in place, carefully raise the tent body. Have one or two people lift opposite corners simultaneously. The tent should rise evenly.
As the tent rises, insert the corner poles into their attachment points on the tent body. These are usually grommets or loops. Work slowly and make sure everything aligns. Forcing corners into place can damage fabric.
Once the tent is up, adjust the tension. Walk around the tent and look for wrinkles in the fabric. Minor wrinkles are normal. Major wrinkles mean poles aren't fully seated. Gently push poles deeper into sleeves if needed.
How to Stake a Tent: Securing Your Setup
Staking holds your tent in place and prevents wind from lifting it. Proper stake placement is the difference between a secure tent and one that shifts or collapses in wind.
Proper Stake Placement and Anchor Angles
Drive stakes at a 45-degree angle away from the tent. This angle creates the most holding power. Vertical stakes pull straight up and slip out easily. Angled stakes resist pulling from any direction.
Start with corner stakes. These bear the most stress. Drive them firmly into the ground. Check that they're at the correct angle. Then stake the remaining attachment points along the tent body.
Use the right stake for your ground type. Sandy soil needs longer stakes. Hard ground needs shorter, stronger stakes. Rocky ground might require stakes with wider heads to grip better.
Using Guy Lines for Stability in Wind
Guy lines provide additional stability beyond the tent body stakes. They're especially important in wind or on slopes. Attach guy lines to the tent at designated anchor points. These are usually loops or grommets along the tent sides.
Run guy lines at a 45-degree angle away from the tent, similar to stakes. This distributes tension evenly. Secure guy lines to the ground with stakes or natural anchors like trees or rocks.
Adjust guy line tension so the tent is snug but not over-tensioned. Over-tightening strains seams and can tear fabric. The tent should feel stable without being pulled tight like a drum.
How to Attach a Tent Rainfly: Weather Protection
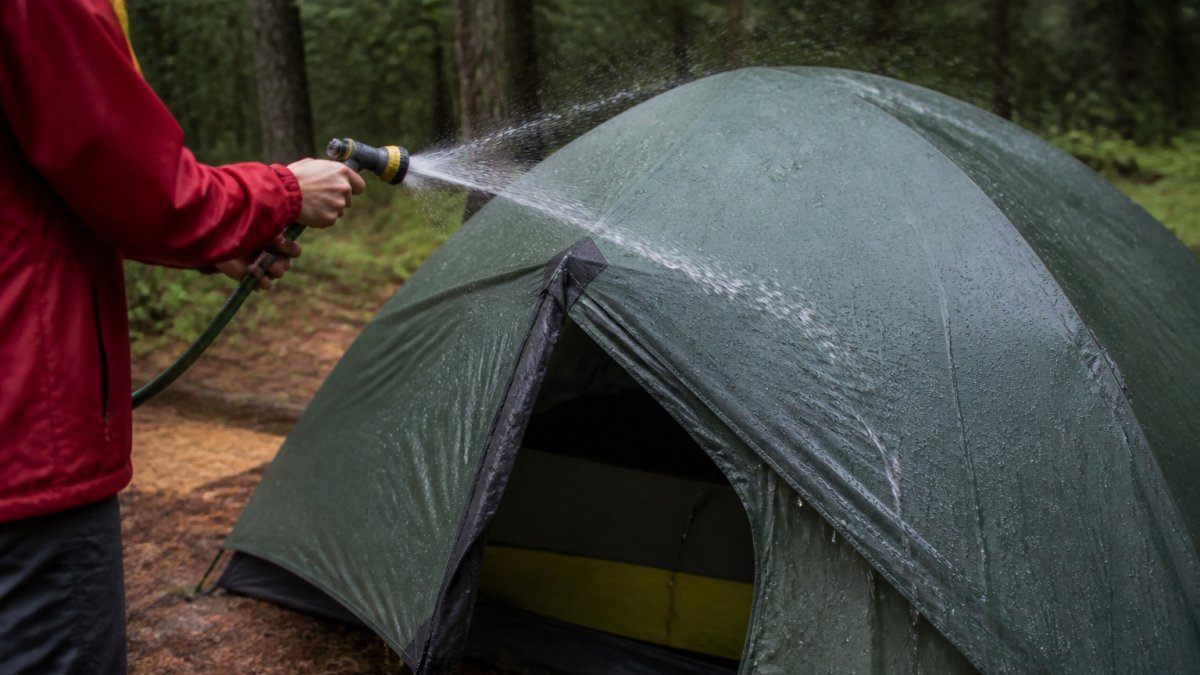
The rainfly goes over the tent body to provide waterproof protection. It's the barrier between your family and rain.
Attach the rainfly to the tent at designated connection points. Most family tents have clips or grommets for this.
The rainfly should be taut but not over-tight. It needs to flex slightly with wind. Over-tensioning can tear the fabric or pull the tent out of shape.
Secure the rainfly guy lines to the ground. These prevent the rainfly from flapping in wind. Angle them at 45 degrees like tent stakes.
Make sure there's air space between the tent body and rainfly. This prevents condensation from dripping onto your sleeping bags.
Setting Up Vestibules, Room Dividers, and Multi-Room Layouts
Larger family tents often include vestibules and room dividers. Vestibules are covered storage areas at tent entrances. Room dividers separate sleeping areas from common spaces.
Vestibules attach to the tent entrance and extend outward. They provide storage for gear and boots without taking up sleeping space. Attach vestibule poles and secure them with stakes and guy lines.
Room dividers hang inside the tent to create separate sleeping areas. This is helpful when families want privacy or when children need their own space.
Multi-room layouts require careful pole placement. Understand how poles support different sections before assembly. Some poles support the main tent body while others support additional rooms.
Common Tent Setup Mistakes and How to Avoid Them
Most setup problems come from rushing or skipping steps.
Skipping the ground cloth. A ground cloth protects the tent floor from punctures and moisture.
Not checking level ground. Uneven ground causes discomfort and puts stress on seams.
Over-tensioning poles and fabric. Tight isn't always better. Over-tensioning strains seams and can bend poles.
Ignoring wind direction. Wind can collapse a poorly positioned tent. Always check wind direction before setting up.
Forgetting to secure guy lines. Guy lines provide crucial stability in wind.
Staking at wrong angles. Vertical stakes slip out easily. Always angle stakes at 45 degrees away from the tent.
Family Tent Setup: Coordination and Safety Tips
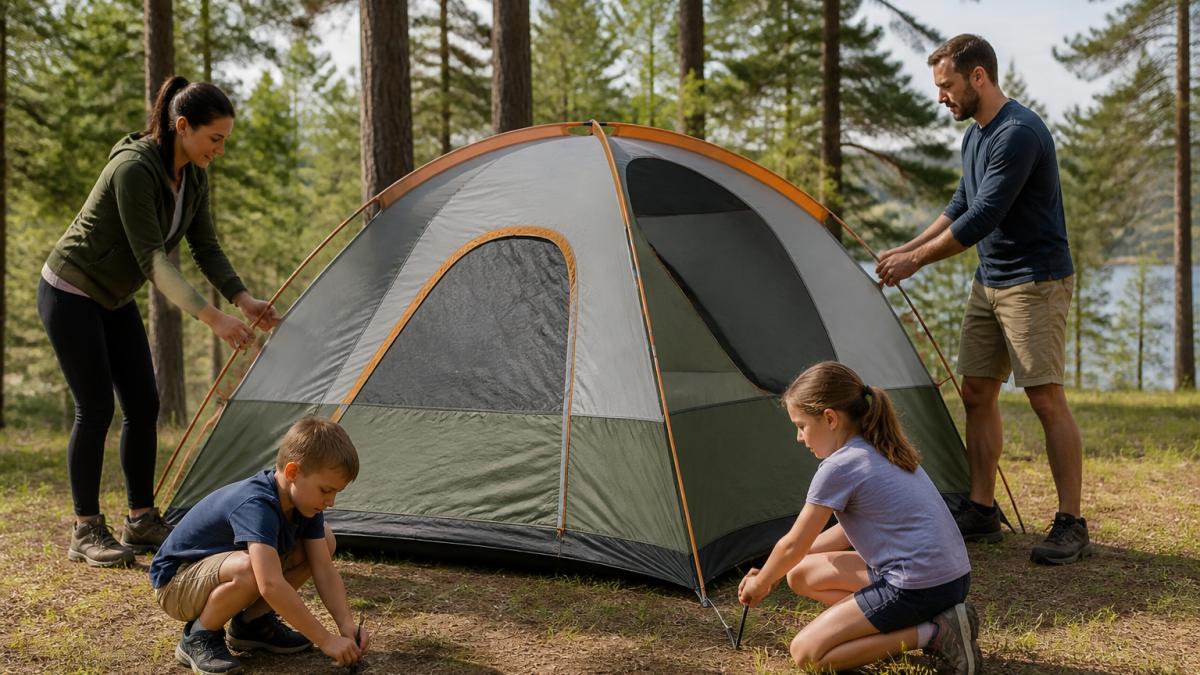
Setting up a family tent goes faster and smoother with teamwork. Assign roles before you start. This prevents confusion and keeps everyone focused.
Assigning Roles and Setup Time Expectations
Have one person direct the setup. This person reads the manual and tells others what to do. Assign one person to organize gear and hand pieces to others.
Setup time varies by tent size and experience. A simple two-person tent takes 10-15 minutes. A large family tent takes 20-30 minutes for experienced campers. First-time setups take longer. Plan extra time and don't rush.
Involve children in age-appropriate tasks. Older kids can help hold poles or hand stakes to adults. Younger children can organize small items or help spread out the rainfly. This teaches them camping skills and keeps them engaged.
Ventilation, Orientation, and Weather Awareness
Position the tent entrance to face away from wind. This reduces wind stress and makes entering the tent easier.
Create ventilation by opening windows and doors slightly. This allows moisture to escape and prevents condensation buildup. Close vents if rain is falling directly toward them.
Keep weather awareness throughout your trip. If wind picks up, check guy line tension and add extra stakes if needed.
Monitor your campsite during your stay. Wind direction can change. Ground conditions can soften with rain. Be ready to adjust your setup if conditions change.
Setting up a family tent successfully requires planning, organization, and teamwork. Shop our selection of family camping tents and gear to find the right equipment for your next adventure.
Frequently Asked Questions
What should you do before pitching a tent?
Before pitching, inspect your tent body, poles, stakes, and rainfly for damage. Choose a level campsite away from hazards like dead branches. Clear the ground surface of rocks and debris. Check weather conditions and wind direction. Lay down a footprint or ground cloth to protect the tent bottom. Unpack all components and organize them by type so nothing gets lost during assembly. Taking 10-15 minutes for preparation prevents frustration and equipment damage.
How do you set up a family tent step by step?
First, lay your footprint on level ground. Unpack and connect your tent poles, then insert them into sleeves or clips on the tent body. Raise the frame and stake down all corners and guy line attachment points at 45-degree angles. Secure guy lines to add tension and stability. Attach the rainfly over the tent body, ensuring it covers the entire structure without touching the walls. Orient tent doors away from wind. Assign family members to different roles: one person holds poles while others stake and attach guy lines. This teamwork approach speeds setup and prevents mistakes.
How do you keep a family tent secure in wind?
Use all available stake points and guy lines, not just corners. Drive stakes at 45-degree angles away from the tent for maximum holding power. Attach guy lines to the tent's reinforced anchor points and secure them tightly. Position the tent with its lowest profile facing into the wind and doors oriented perpendicular to wind direction. Check that the rainfly is fully attached and not flapping. Inspect stakes regularly during your camping trip, especially if wind picks up. In high winds, avoid pitching in exposed ridges or clearings; seek natural windbreaks like tree lines or rock formations.
What are common mistakes to avoid when setting up a tent?
Don't skip the footprint or ground cloth, it protects against punctures and moisture. Avoid pitching on uneven or sloped ground, which causes discomfort and water pooling. Never ignore guy lines; they're essential for stability, not optional. Don't attach the rainfly too tightly or too loosely; it should be snug but allow slight movement. Avoid orienting doors toward wind or rain. Don't forget to stake all corners and guy points, even in calm weather. Finally, don't set up in low spots where water collects during rain. Practice setup at home before your camping trip to build confidence and identify issues early.